BEAR Cloud VMs can be enabled to allow graphical access using a X2Go - this access is not enabled by default. Requesting this option to be enabled should be done via a Service Desk ticket.
Downloading and Installing X2Go
Go to https://wiki.x2go.org/doku.php/doc:installation:x2goclient and follow the instructions (relevant to your operating system) for installing X2Go on your local machine. Note for Mac OS users: you will need to install XQuartz (https://www.xquartz.org), and open it before following the steps below.
Using X2Go to access a BEAR Cloud VM
Once you have installed X2Go, open the application. You should see a window similar to the one below, asking you to create a new session. If not, select the New session option.
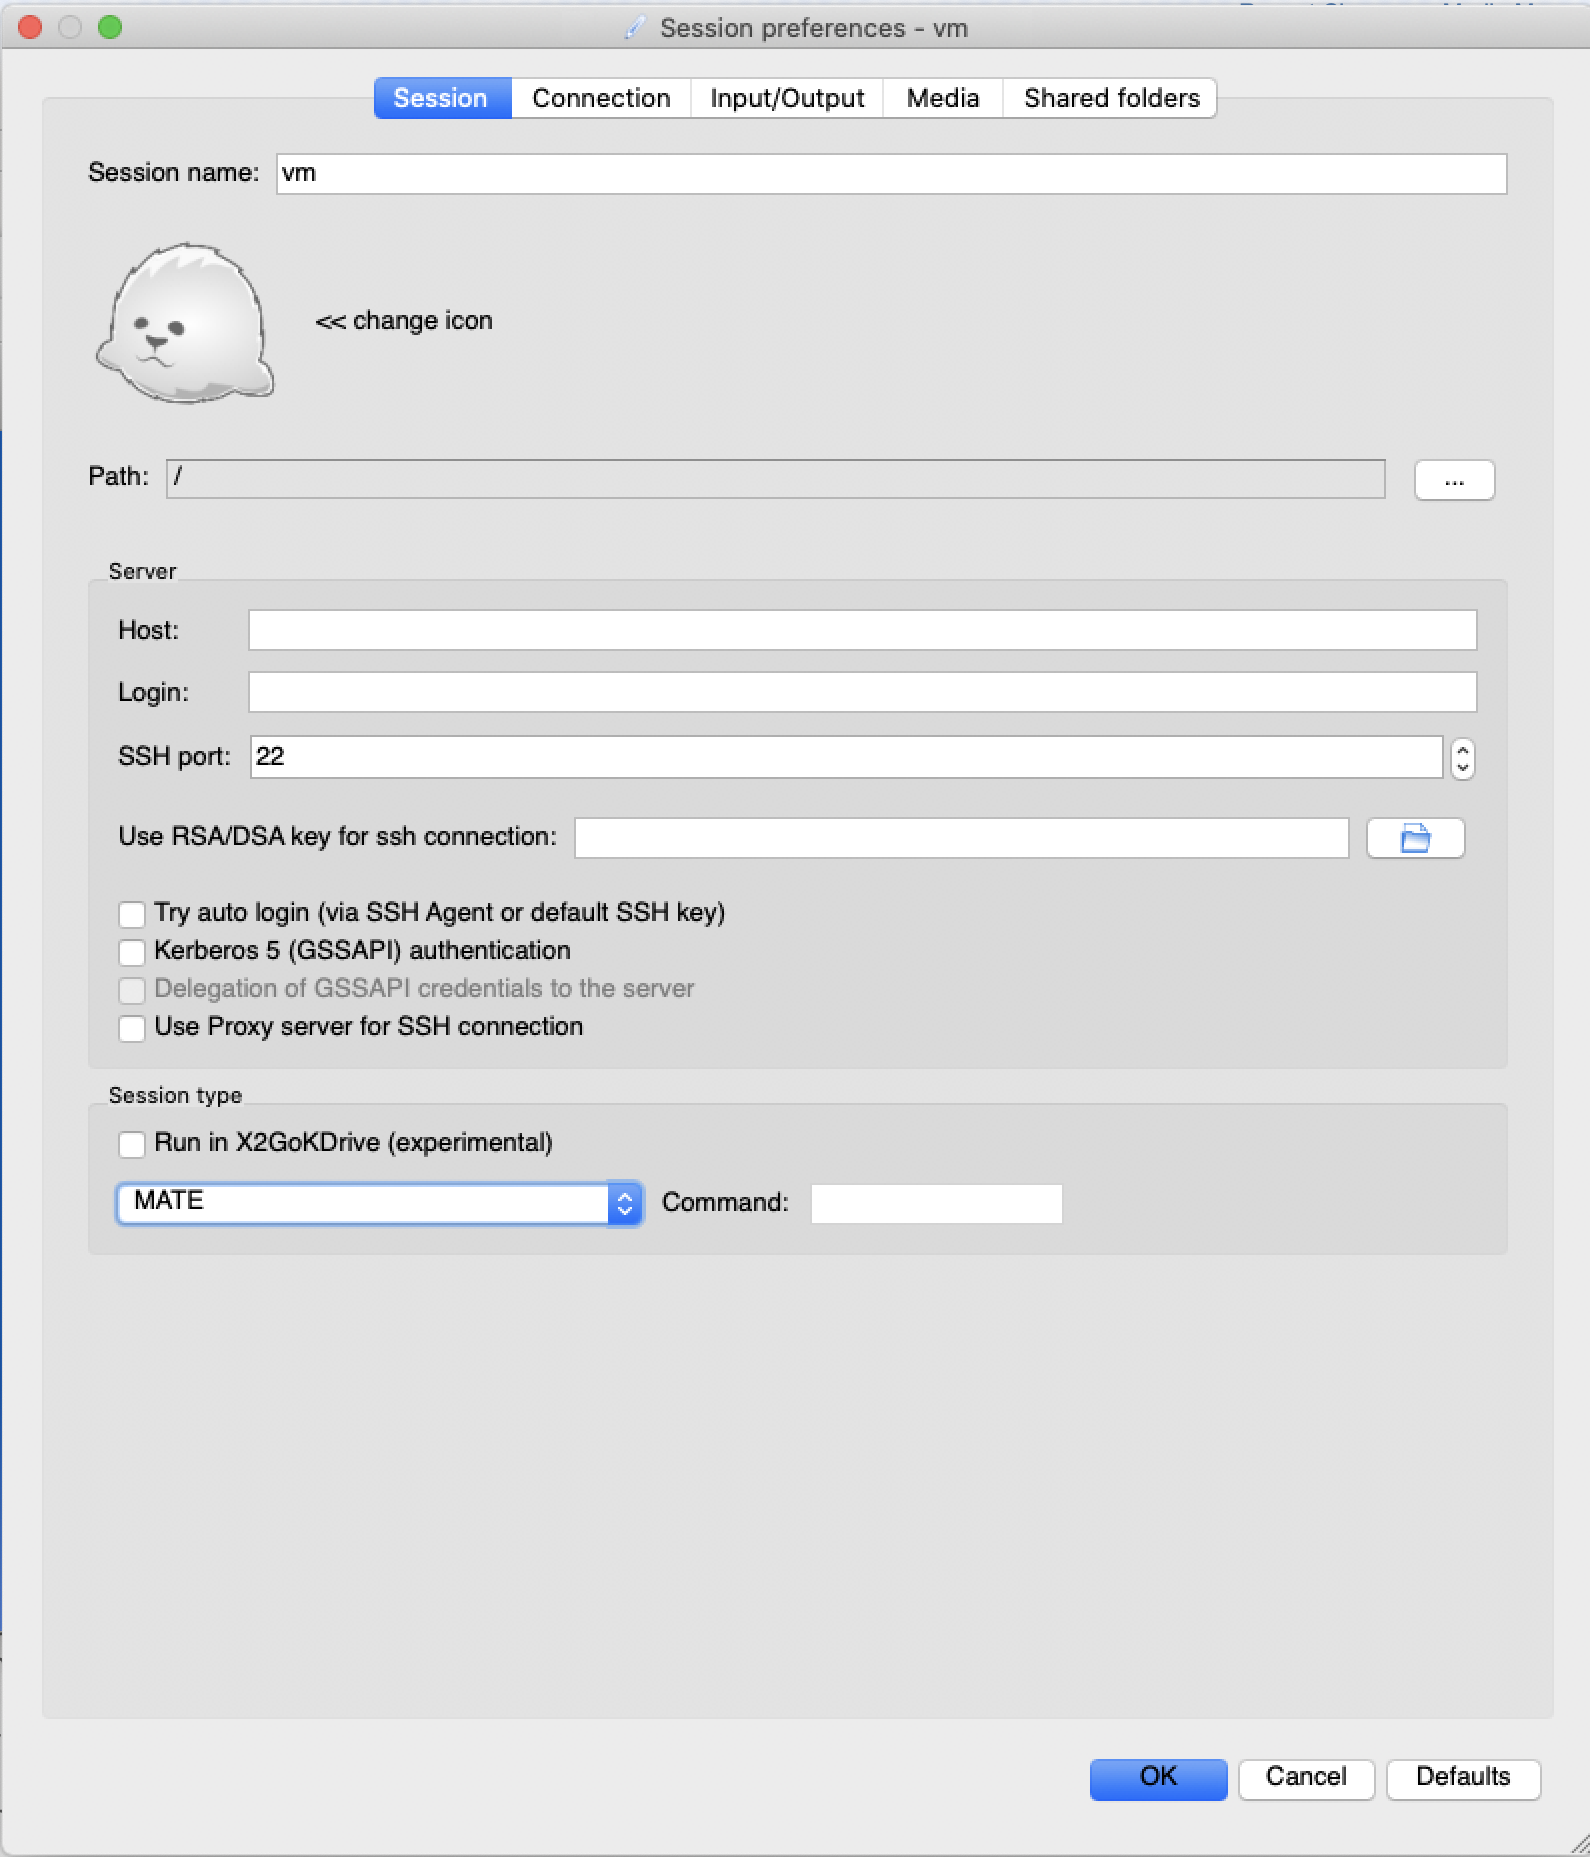
Change the Session name to something suitable. In the Host section, enter the IP address of your Linux VM. In the Login section, enter your ADF username. The final step is to change the option in the drop-down menu under Session type to MATE. Once you have modified these options, click OK.
You should then see the session details saved in a pane on the right-hand-side, as below.
 Click on the session details, enter your username and password, and then click OK.
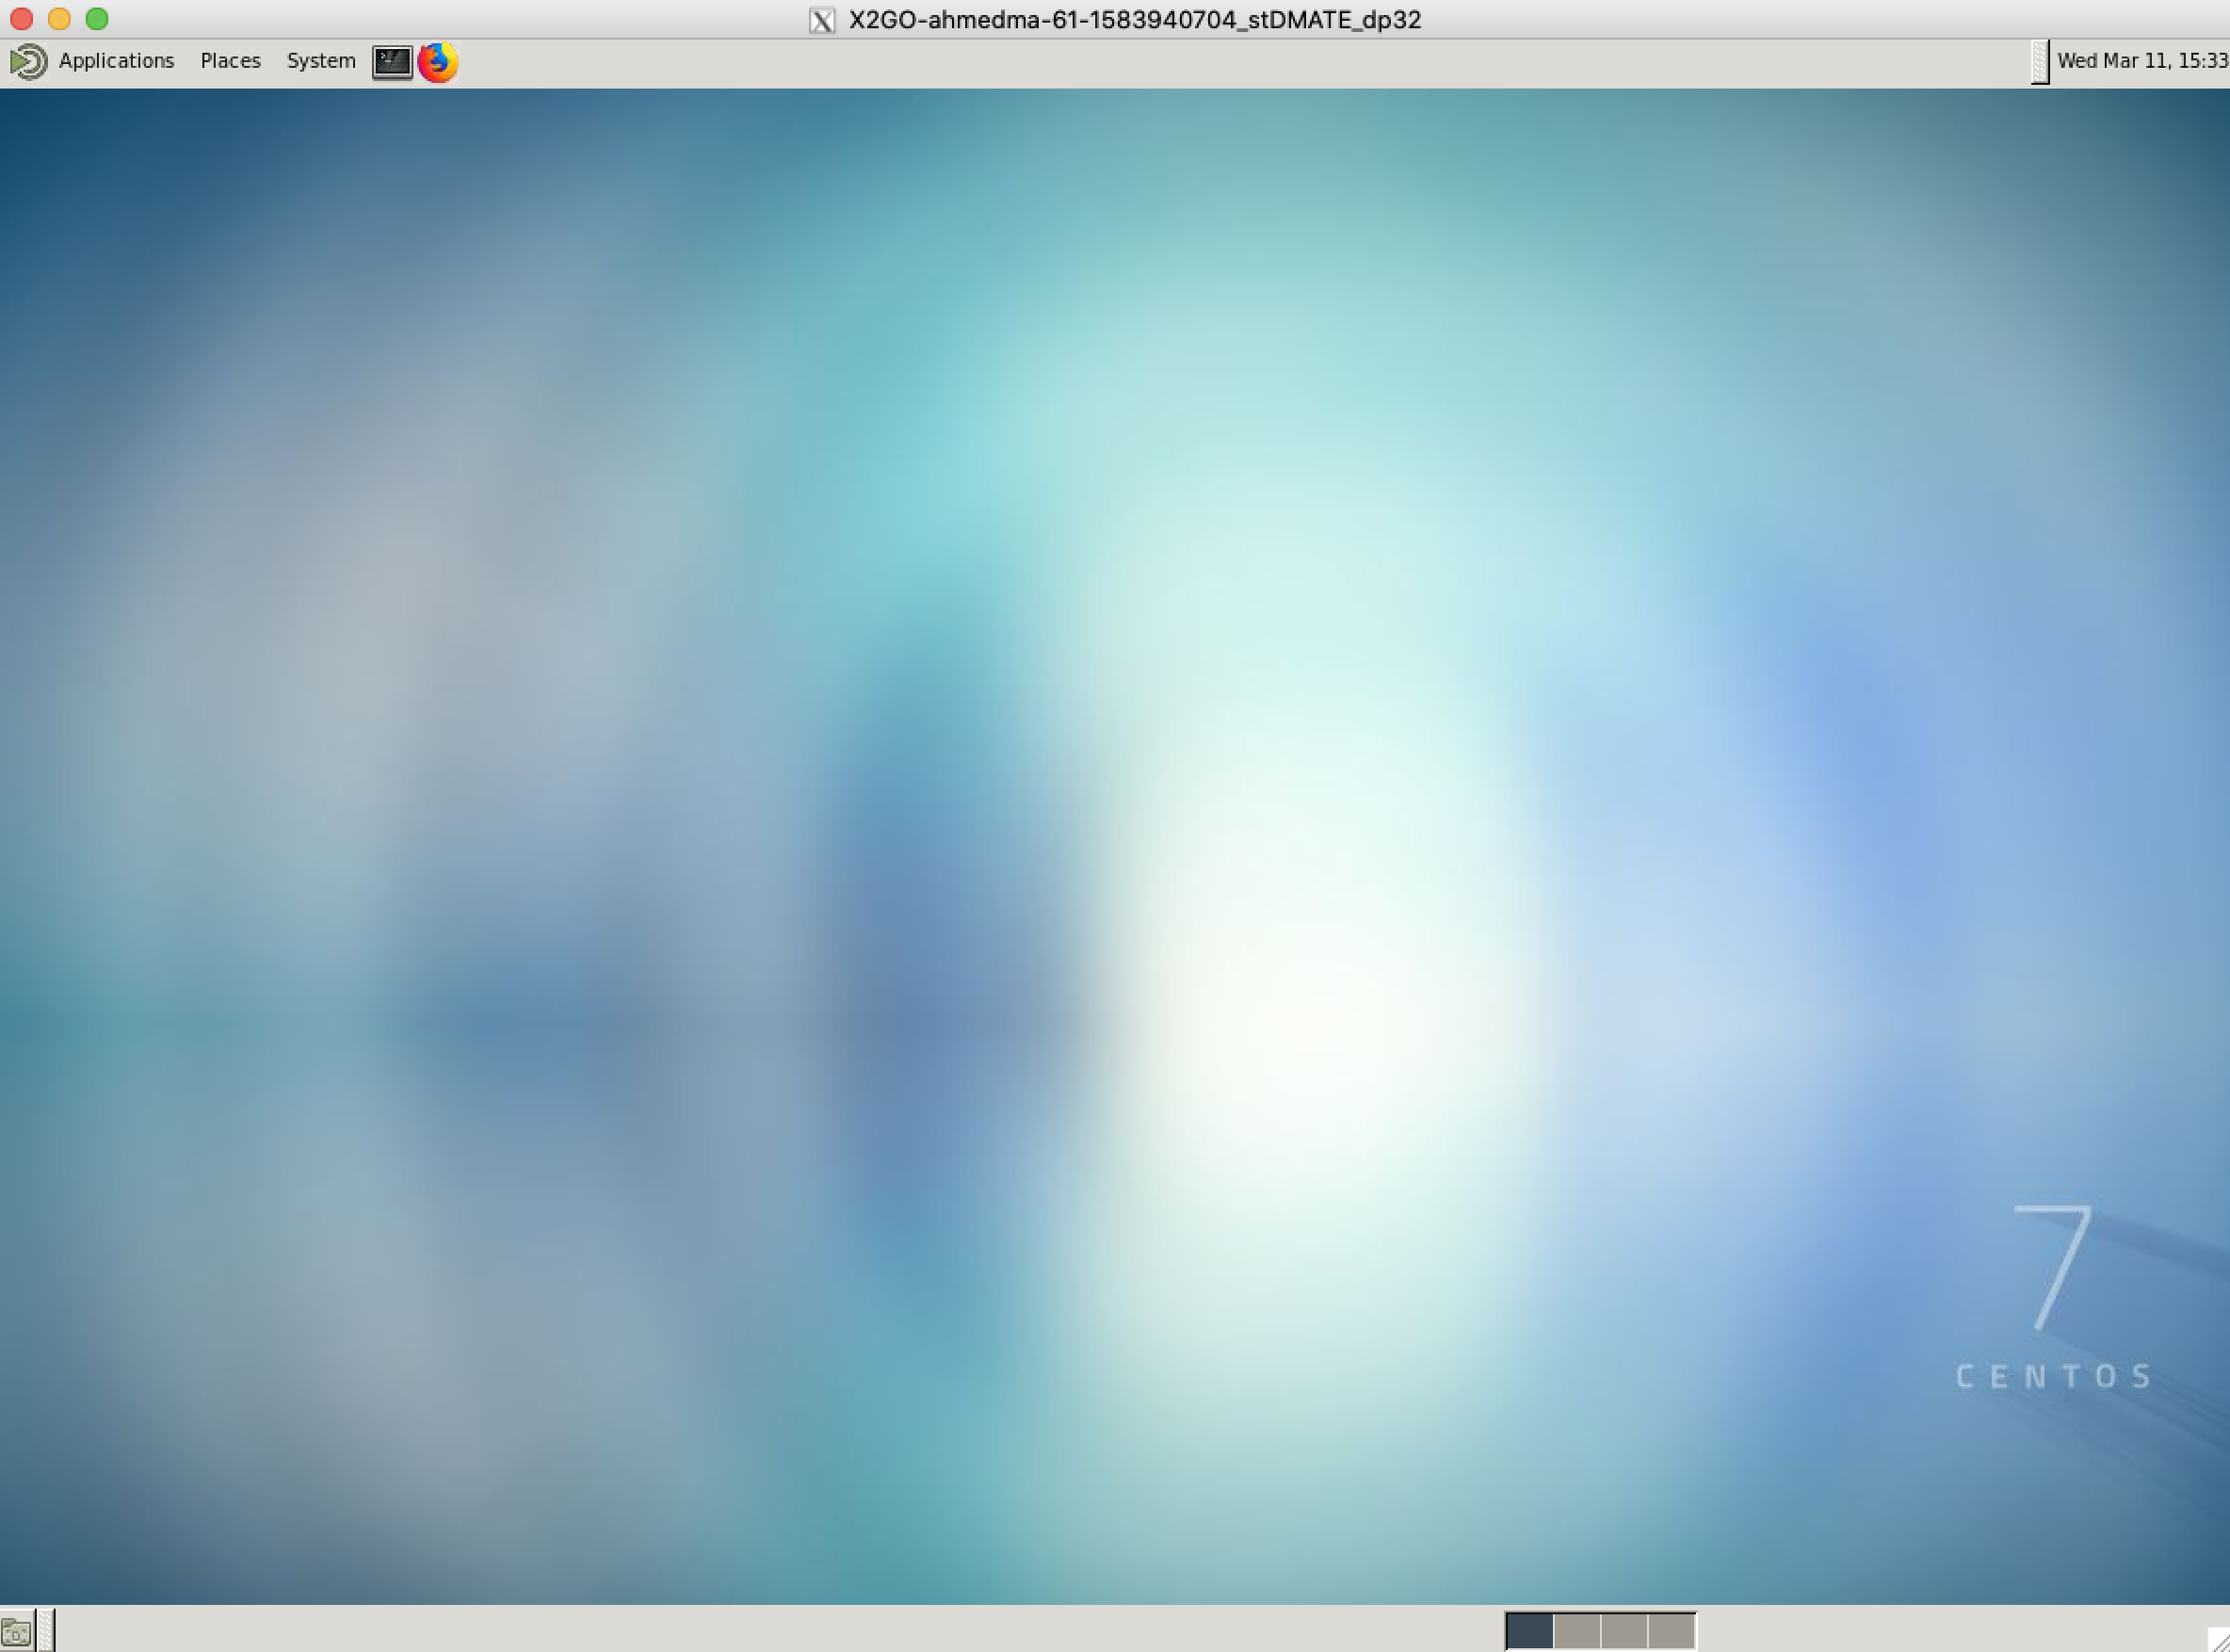
 Once you have completed these steps, an interactive session will start, and you should see the desktop of the Linux VM.
Loading modules
If you want to load BEAR applications using the "module load" command, then you will need to change the following setting:
- Open the Mate Terminal (click the terminal icon in the top panel)
- Click "Edit" in the terminal's menu
- Click "Profiles"
- Select the desired profile (usually "Default") and click "Edit"
- Select the "Title and Command" tab
- Tick the "Run command as a login shell" box
- Click "Close", and "Close" again.
- Then close this terminal and open a new one.
- You can now run "module load ..." commands in the terminal.