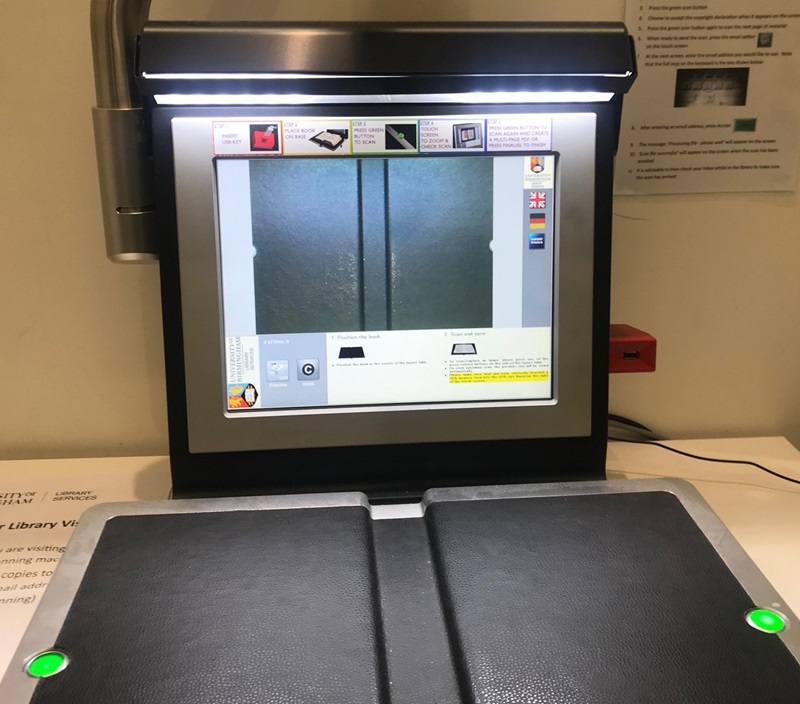
As well as multifunctional printer, copier, scanners, we have two book scanners in the Main Library, on the first and third floors, designed for scanning books and other printed materials. You can scan to USB, so they can be used by visitors.

Scanning to USB
- Before using the scanner, check that the light above the screen is switched on. This will make sure your scans are in focus and readable. The switch is located on the right-hand side of the screen and should display a green light when it is turned on.
- Make sure the blinking dot in the top-left corner of the screen is also green
- Insert your USB stick into the red port on the right-hand side of the scanner screen. The capacity of the USB stick should appear next to the USB stick image at the bottom left of the screen.
- Place the item to be scanned in the middle of the scanner bed. Some of our scanners have moveable beds that can be used to adjust the position of the page
- To make a scan, press one of the long green buttons on either side of the scanner bed. You can hold down the edges of the pages with a finger or two during scanning
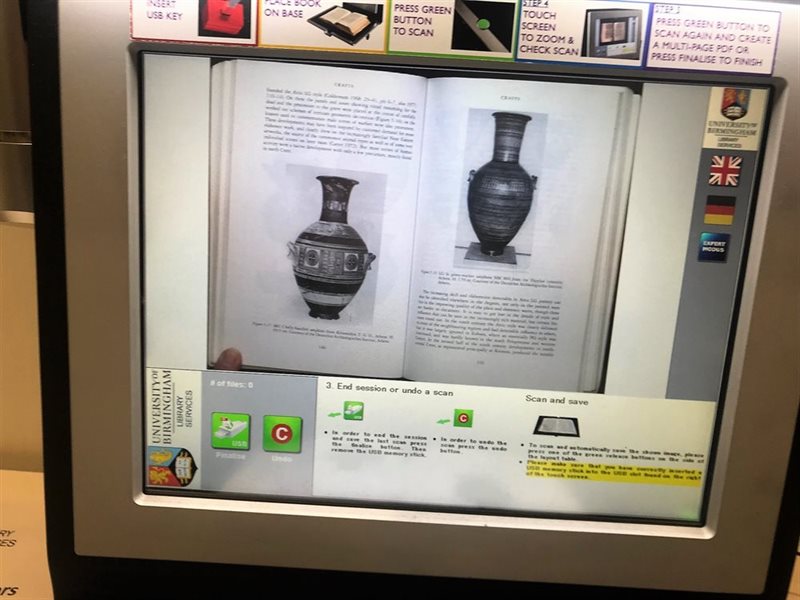
- Once you have taken the first image, a scanning copyright notice will appear. Please ensure you read and accept the conditions before pressing yes to continue. Pressing no will end your session. You will only need to accept the copyright regulations once per session / item.
- Continue scanning the chapter or section by pressing the green button on each page. Note that the scanner automatically centers the page and will ignore your hand etc if you are holding the book open. You must wait for the result of one scan to appear on-screen before taking the next image. However, please note that the scanner will time out without saving your images if you do not take the next scan within two minutes.
- Once you have finished scanning, press the finalise button in the bottom left corner of the screen to save your images to your USB stick and end your session. All images taken during one session will appear as a single PDF file on your device.
Please remember to remove your USB stick when you've finished.

Using expert mode
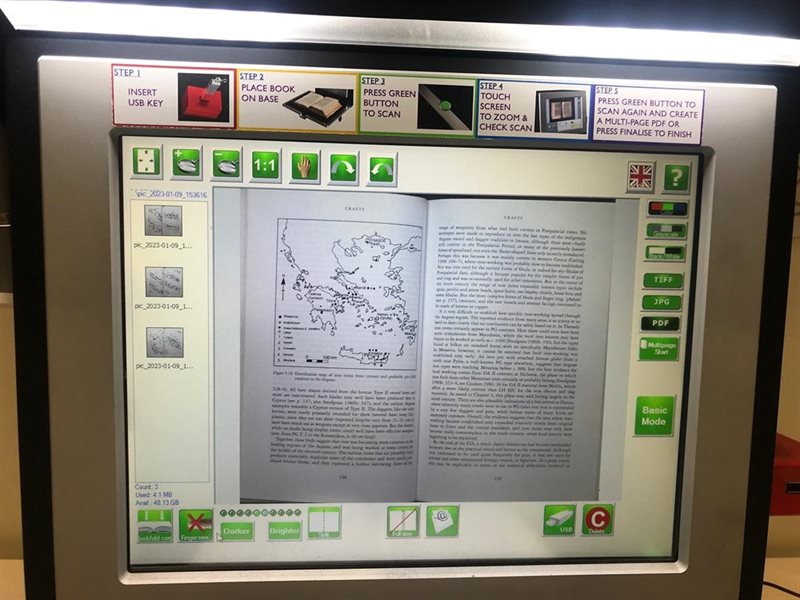
To access advanced options you need to press the small blue "Expert Modus" button on the right-hand side of the screen.

Options include:
- Finger removal: you can use this button to remove your finger from the scan if you've used it to hold the book open
- File format: the default file format is PDF, but you can use the options on the right to change this to TIFF or JPG format
- Page removal: if you are unhappy with a page, you can select it from the list on the left to remove it from the selection
If you require assistance with these or any of the other options on the screen, please speak to a member of staff.